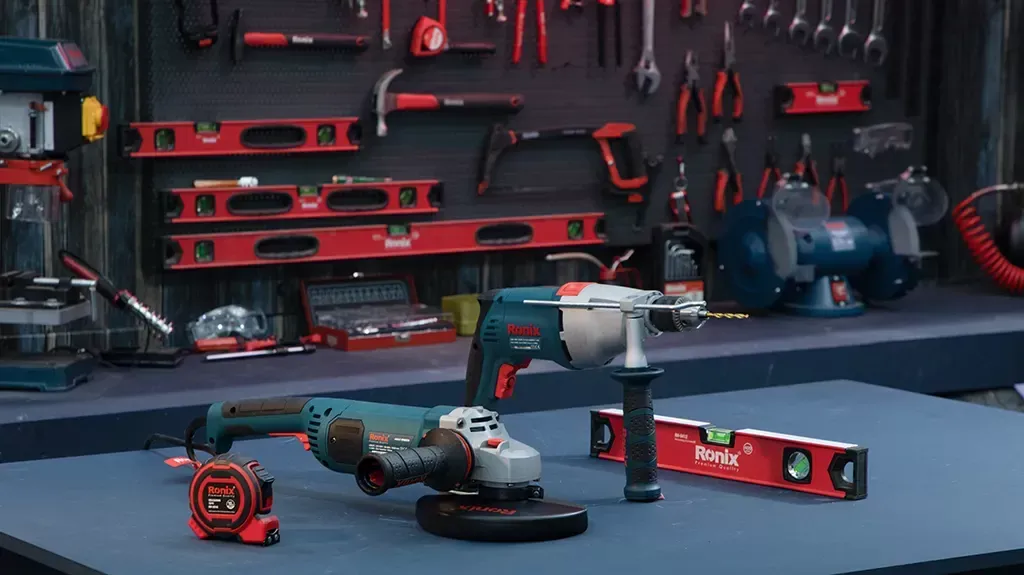


Garbage Disposal Replacement
Garbage Disposal Replacement

Depending on the individual doing the installation and the type of device, replacing the garbage disposal might take anywhere from 30 minutes to several hours. It may take 10 to 20 minutes to be ready, including cutting off the water and power and removing the old unit.
It can take anywhere from 20 to 60 minutes to install a new unit, and another 10-15 minutes to test the disposal’s performance. About 10-15 minutes could be needed to finish cleaning the area. The job may often be finished in under an hour by a professional plumber or handyman.
Verify if the garbage disposal is actually broken
A garbage disposal frequently isn’t technically malfunctioning when it stops functioning. Depending on how the device is acting up, there are two troubleshooting options to consider.
- Check the outlet if you flip the switch to power and nothing happens. This outlet is typically found underneath the sink, where it’s simple for the plug to become accidentally dislodged while accessing supplies kept in this area.
The device’s internal circuit may have tripped if firmly plugged in. Find and press the tiny red button on the unit’s base to reset the circuit. The disposal has to be replaced if it remains silent and still after being turned on. - The likelihood of the disposal’s blades being jammed is increased if, when you flip the switch, the motor hums but the blades don’t turn. Check inside the device with a torch.
Cut the power to the device and remove the obstruction using a long fork or a pair of pliers if you notice a wayward utensil, peach pit, or other blockages, or if there is a lot of fibrous trash, like celery, wrapped around the blades.
Garbage disposals have razor-sharp blades, so never put your fingers inside! The garbage disposal needs to be replaced if it continues to hum after being cleaned; turn it on and give it a try.
How much labor time to replace garbage disposal?
An expert installer can install a new disposal in two to four hours on average. In order to make the entire system functional again, this involves measuring the location of the disposal, removing all the pipes, installing the disposal, and fitting new pipes.
To ensure that all of the pipes fit without using up all of your storage space, this method needs to be precise. You’ll need an electrician to establish a power connection for the garbage disposal if one isn’t already there.
This includes attaching it to a switch, thus the only alternative that will likely function without requiring additional assistance from an electrician is to use an existing connection that wasn’t built for it.
A brand-new garbage disposal may be purchased for as little as $50, but at that price, you’ll likely only get a small, underpowered machine that will struggle to grind up anything except the softest of scraps.
At the upper end, for around $200, you can purchase a powerful, comparatively silent appliance made of stainless steel with a few years of warranty and, frequently, an auto-reverse start, which causes the blades to spin in one way before turning backward to prevent most jamming issues.
Most people can meet standard kitchen needs with a garbage disposal in the $75–100 price range since it has enough strength and durability.
Inability to use a plumber for installation results in significant savings. The task usually requires a few hours, and it costs $100 on average each hour. Remember, too, that the majority of the installation process will involve stooping to access the cramped space beneath your kitchen sink, so if your back isn’t capable of a protracted and painful stoop, you might be better off hiring someone.
Replace a Trash Disposal: How to Do It
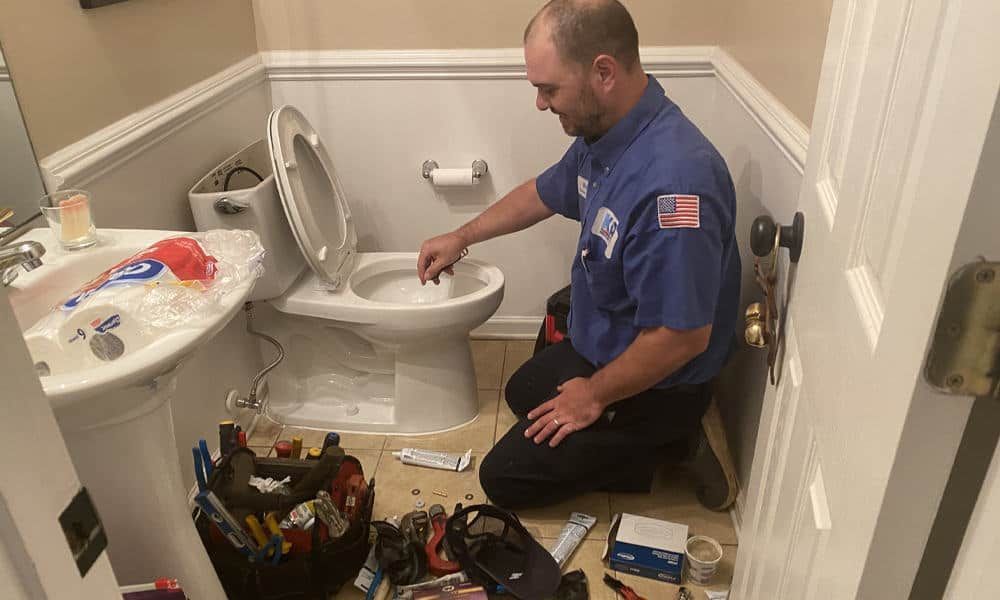
You don’t need to worry if your garbage disposal breaks down because installing a new one is a simple task that you can complete on your own in a matter of minutes. We’ll demonstrate how:
Removing the old disposal unit
- Turn off the power to the garbage disposal
Locate the switch for the garbage disposal unit at your home’s main circuit breaker. Make sure the switch is in the “Off” position. Now you won’t have to be concerned about unintentionally obtaining a painful shock while working.
Due to the fact that garbage disposals are electrical devices, a live current is always flowing through them when the power is on. Ensure that your waste disposal has also had its water turned off. - Identify your garbage disposal
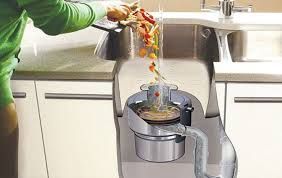
Open the cabinet doors under your sink, and look directly behind the drain. Between the plumbing pipes and the drain’s bottom, there ought to be a sizable cylindrical object visible. You will actually be replacing this garbage disposal device.
Make a note of the disposal’s brand and model. It will only require the removal of the old unit and the screwing on of the new one to replace it with a similar model. - Disconnect the discharge tube
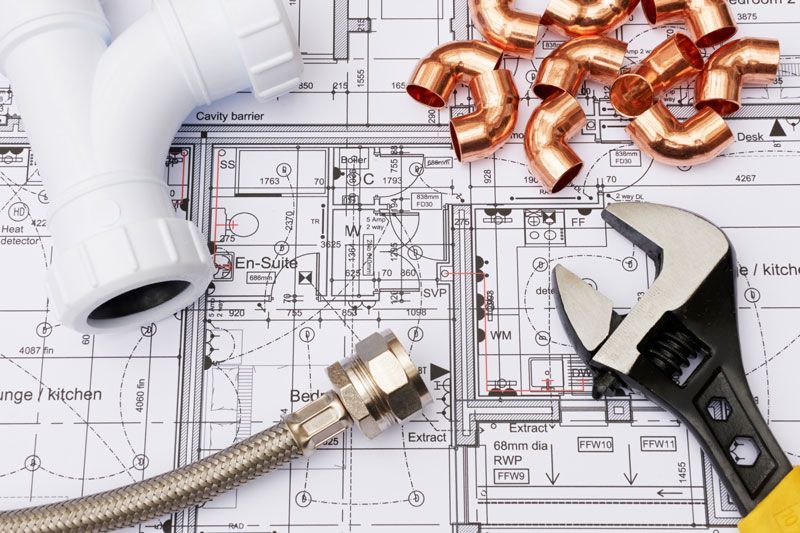
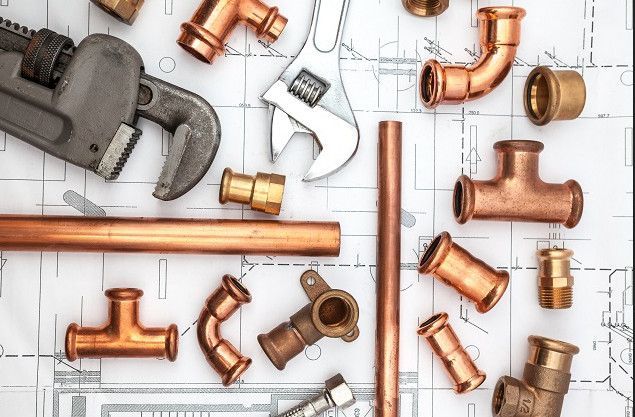
Find the pipe leading from the disposal’s side to the underground plumbing. At the point where the pipe connects to the object, loosen any nuts or bolts and pull the pipe away with a strong tug.
Food scraps that have been ground up must exit the disposal via the discharge tube. A second tube may be used to connect some older waste disposals to the dishwasher’s water supply. In a similar way, this one can be detached. - Release the old disposal from the mounting ring
You should notice a thin metal ring with three distinct lugs, or protruding arms, at the top of the device.
To remove the old component, grasp these lugs with one hand and rotate the entire ring counterclockwise roughly 1.5 inches (3.8 cm). To prevent a mess, place it aside on a piece of newspaper or an unfolded rag.
Be prepared to grasp and hold the unit once it separates from the mounting ring as garbage disposals frequently surprise people with how heavy they are.
Put a few paint cans, some scrap wood, or a stack of phone books behind the disposal to serve as a support platform. - Separate the disposal from the power supply.
Flip the device over and check the bottom for the round or square faceplate. This serves as the electrical house cover. Remove the green screw from the faceplate and place the copper ground wire over it. To detach the colored wires from the primary power source, pinch the plastic wire connections.
The release of wire connectors that are too small to unclip by hand could benefit from the use of a set of needle nose pliers.